
How to Add Custom Fonts to Elementor (Free and Pro)
Elementor comes with hundreds of Google Fonts. For plenty of sites, that’s plenty. But then you land a client with a brand font, or you buy a typeface you love, or you find a free one that Google has never heard of.
So you open Elementor and hunt for the upload button. Found it? Not unless you’re on Pro. The free version doesn’t have one, which is annoying, but there are still two ways around it. I’ll walk through all three methods and the usual problems that show up afterwards.
Table of Contents
Do You Need a Custom Font at All?
Fair question, and most guides skip it.
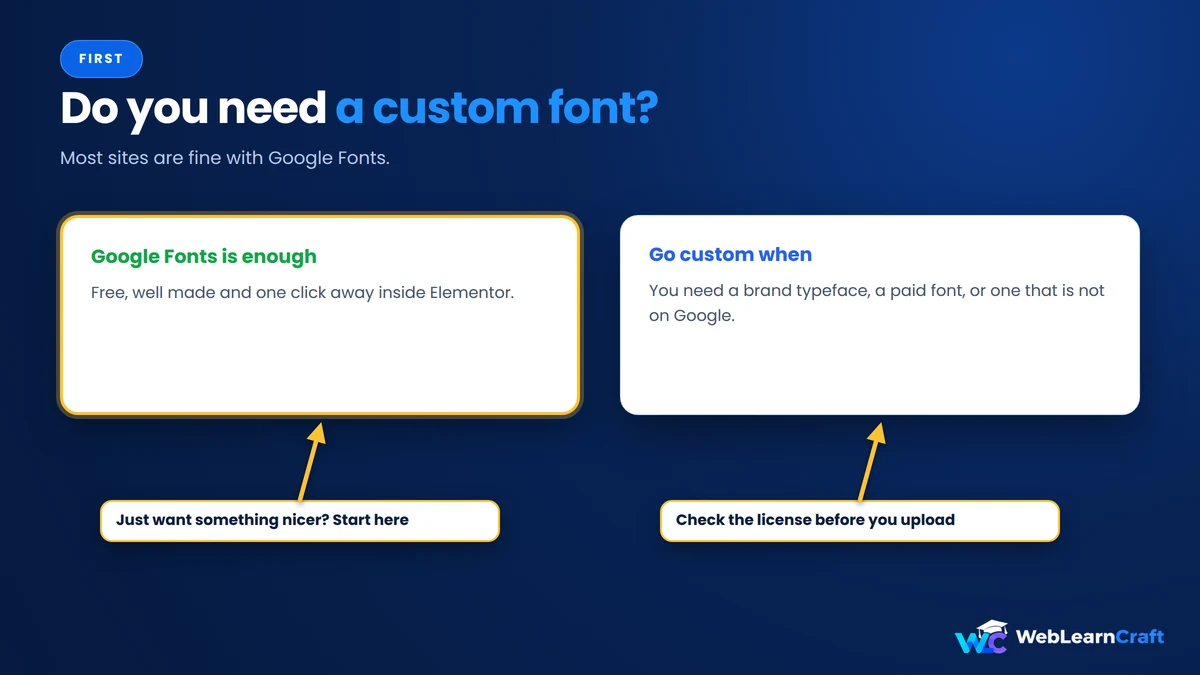
Elementor’s built-in Google Fonts are free, well made, and one click away. If you just want something nicer than the default, stop here and use those. Seriously.
A custom font earns its place when you need your brand’s exact typeface, when you’ve paid for a font license, or when the font you want simply isn’t on Google. Any of those? Keep reading.
Before You Upload Anything
Three quick checks. Skip them and you’ll regret it later.
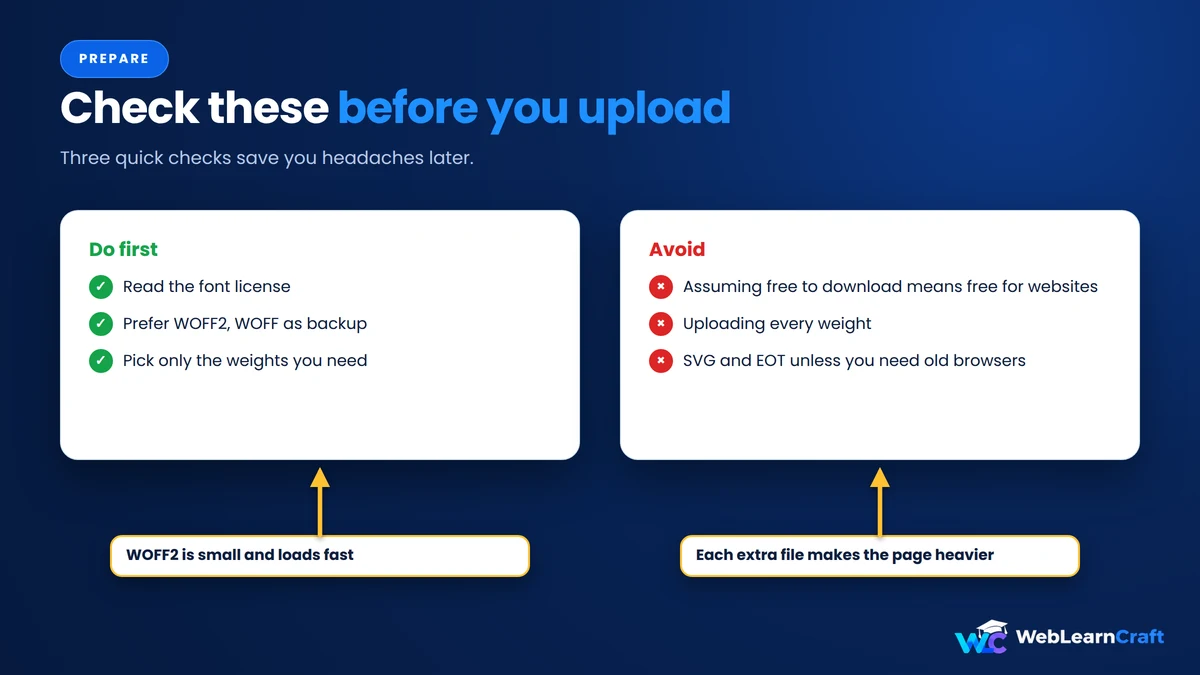
First, the license. “Free to download” doesn’t always mean “free for websites.” Some licenses cover personal use only, and some charge for web use. Fonts under open licenses, like the SIL Open Font License, are usually fine, but read the terms yourself. I won’t do it for you.
Second, the file format. WOFF2 is the best choice for the web, because it’s small and loads quickly. WOFF is a decent backup, and TTF works too. Elementor Pro also takes SVG and EOT, but those mostly exist for ancient browsers, and most sites can ignore them.
Third, the weights. Regular and bold? Italic as well? Each weight is its own file, and each file makes your page a bit heavier. Upload what you’ll actually use, nothing more.
How to Add Custom Fonts to Elementor Pro
Pro makes this painless. No plugin, no code. Elementor’s own help page on custom fonts in Pro covers the same flow.
Go to Elementor, then Custom Fonts, and click Add New. Type a name. That’s the name you’ll pick from the dropdown later, so make it obvious.
Now click Add Font Variation. Pick the weight and style, like Normal or Bold, and upload the matching files. WOFF2 and WOFF if you’ve got both. Then repeat for every weight you need. One warning: don’t pick a weight your file doesn’t contain, or the text can look off.
Hit Publish. Elementor saves the files in your wp-content/uploads folder.
To use it, open a page in the editor, click a text widget, and go to Style, then Typography, then Family. Your font should be sitting in the list with the rest.

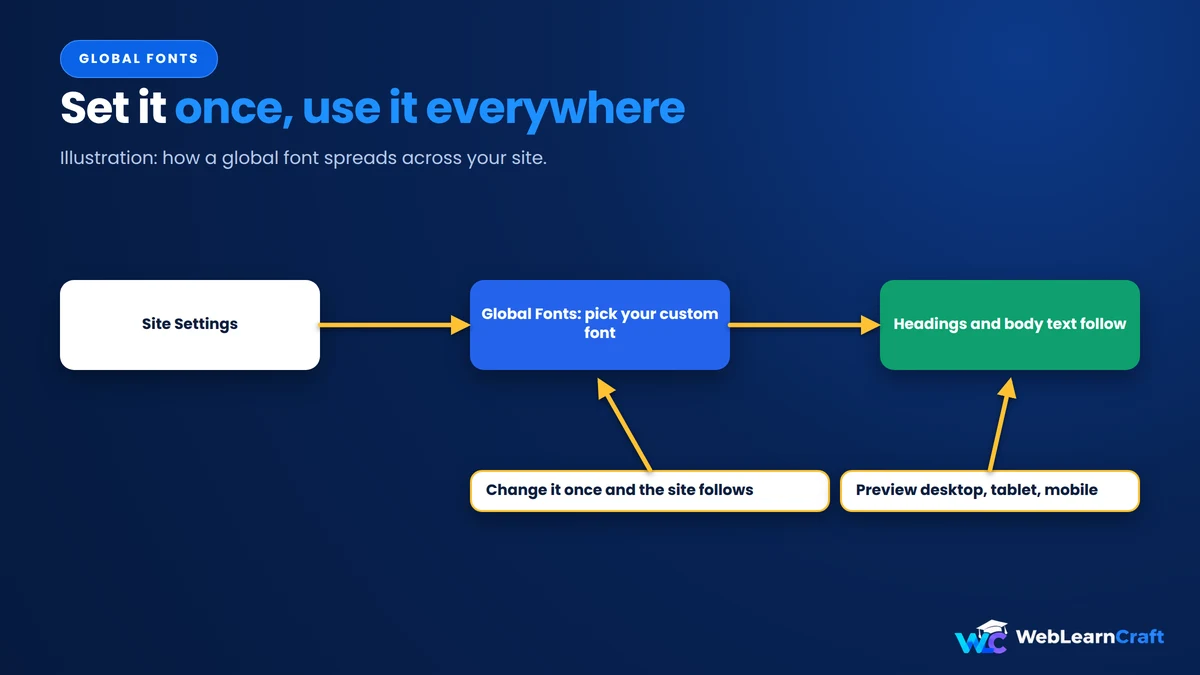
Here’s a time-saver. Instead of changing fonts widget by widget, open Site Settings, then Global Fonts, and set your custom font there for headings and body text. Change it once, and the whole site follows. A brand refresh later takes a minute, not an afternoon. After you change Global Fonts, preview the page on desktop, tablet and mobile. A font that looks great on a big screen can feel cramped on a phone.
One more setting worth knowing about: font-display. It decides what visitors see while your font loads. Elementor leaves it on auto, meaning the browser chooses. Some versions let you change it in the font options, and developers can switch it to swap with a small filter. If your text flashes or disappears for a moment, look there.
Free Method One: A Plugin
The free version has no uploader, so you need a plugin. The easiest I know of is Custom Fonts by Brainstorm Force. It’s free.
Install it, activate it, and go to Appearance, then Custom Fonts. Click Add New, name the font, add the files for each weight, and publish.
Then open Elementor and look in the font list under Typography. In most setups, your fonts show up there, often in their own group. Done.
A caveat, though. Whether the font appears on its own can depend on your versions and your theme. If it doesn’t show in the dropdown, don’t fight it. Try the CSS method below, which doesn’t care about the dropdown at all.

Free Method Two: CSS
No plugin needed here, but you’ll do a bit more work. The upside: it’s the most reliable way to get a custom font onto the front of your site, even when the editor refuses to list it.
Start by uploading your font files to your server. The WordPress Media Library usually rejects font files, so use your host’s file manager or FTP. A neat spot is a fonts folder inside your child theme, or a folder under wp-content/uploads.
Next, tell the browser the font exists. Go to Appearance, then Customize, then Additional CSS, and add this:
@font-face {
  font-family: 'My Brand Font';
  src: url('/wp-content/uploads/fonts/my-brand-font.woff2') format('woff2'),
       url('/wp-content/uploads/fonts/my-brand-font.woff') format('woff');
  font-weight: 400;
  font-style: normal;
  font-display: swap;
}

.my-brand-font {
  font-family: 'My Brand Font', sans-serif;
}
Swap in your own font name and file paths. The font-display: swap line shows a fallback font straight away, then switches over once yours has loaded.
Finally, apply it. In Elementor, select the widget, open the Advanced tab, and type my-brand-font into CSS Classes. Save, then check the live page.
It’s manual, I’ll admit. You add that class to each widget. But once the CSS is in, it works on the free version with nothing extra installed.

Keep Fonts Fast
Fonts can slow a site down without anyone noticing. A few habits help.
Use WOFF2 when you can. Upload only the weights you need. Keep font-display on swap so people can read your text while the font loads. And try to stick to one or two font families across the whole site. Three or four gets heavy fast.
Also, Elementor’s Google Fonts load from Google’s servers by default. If you’d rather keep everything on your own server, some themes and plugins can host Google Fonts locally. That’s optional, not required.

When the Font Won’t Show Up
Happens all the time. Check these in order.
Not in the dropdown? Make sure the font is published, not sitting as a draft. Then go to Elementor, then Tools, regenerate files and data, clear your cache, and reload the editor.
Looks wrong? You may have chosen a weight the file doesn’t contain, or uploaded the wrong file for a variation. Make sure each variation matches its file.
Fine in the editor, broken on the live site? Clear your caching plugin, your host cache and your CDN. Then test in a private window.
Loading from an http:// address? On an HTTPS site, that can trigger a mixed content warning. Use https:// or a relative path.
Still not right? Something else may be overriding it. Check the widget’s own typography settings and your Global Fonts, because a theme can force a different font.

Mistakes to Skip
- Using a font without reading its license. Web use isn’t the same as personal use.
- Uploading every weight “just in case.” More files, slower page.
- Changing fonts widget by widget. Set Global Fonts once.
- Picking a weight your file doesn’t have. You’ll get faked bold text that looks wrong.
- Forgetting the cache. Always test in a private window.
Frequently Asked Questions
Can I add custom fonts to Elementor for free?
Not with a built-in uploader, since that’s a Pro feature. But a plugin like Custom Fonts or a bit of CSS gets it done.
Where’s the custom fonts setting in Elementor Pro?
Elementor, then Custom Fonts, then Add New.
Which font format is best?
WOFF2. It’s small and quick. Add WOFF as a backup if you have it.
Why isn’t my custom font in the dropdown?
Usually it’s unpublished, the cache hasn’t been cleared, or (on the free version) your setup doesn’t list it. Regenerate Elementor’s files, clear caches, or use the CSS method.
Are free fonts safe for my website?
Only if the license allows web use. Open-license fonts are usually fine, but read the terms.
Will custom fonts slow my site down?
They can if you upload too many files. Stick to WOFF2, keep the weights few, and use font-display: swap.
Do I need SVG and EOT files?
Rarely. They’re mostly for very old browsers. WOFF2 and WOFF cover nearly everyone else.
Final Thoughts
Adding a custom font to Elementor isn’t hard once you know which door to use. Pro has the built-in uploader. Free users pick between a plugin and some CSS. Whichever way you go, check the license, upload only the weights you need, and set the font once in Global Fonts.
If Google Fonts do the job, use them and move on. If your brand needs more, now you know how. And when a font refuses to show up, it’s almost always the cache, a draft, or a mismatched weight. Once your font is set up, open a few pages on desktop and mobile, and you’ll know right away whether it’s working.
For more beginner guides, browse the WebLearnCraft blog. Need help with your site? Contact us and we’ll point you the right way.
1
4 Responses